In this part, we will use tenant user (peter) to create an instance (WEB_01) for project (Peter_Test) using.
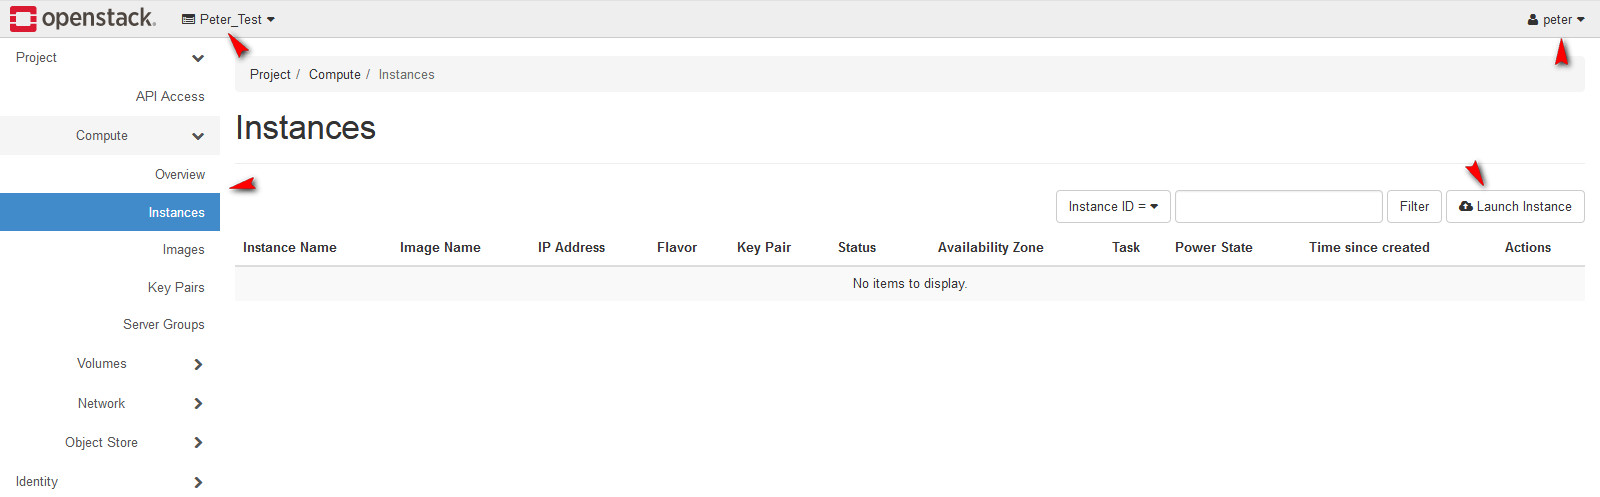
1. Login as tenant user (peter), go to Project > Compute > Instances. Click Launch Instance.
2. I will launch instance called WEB_01.

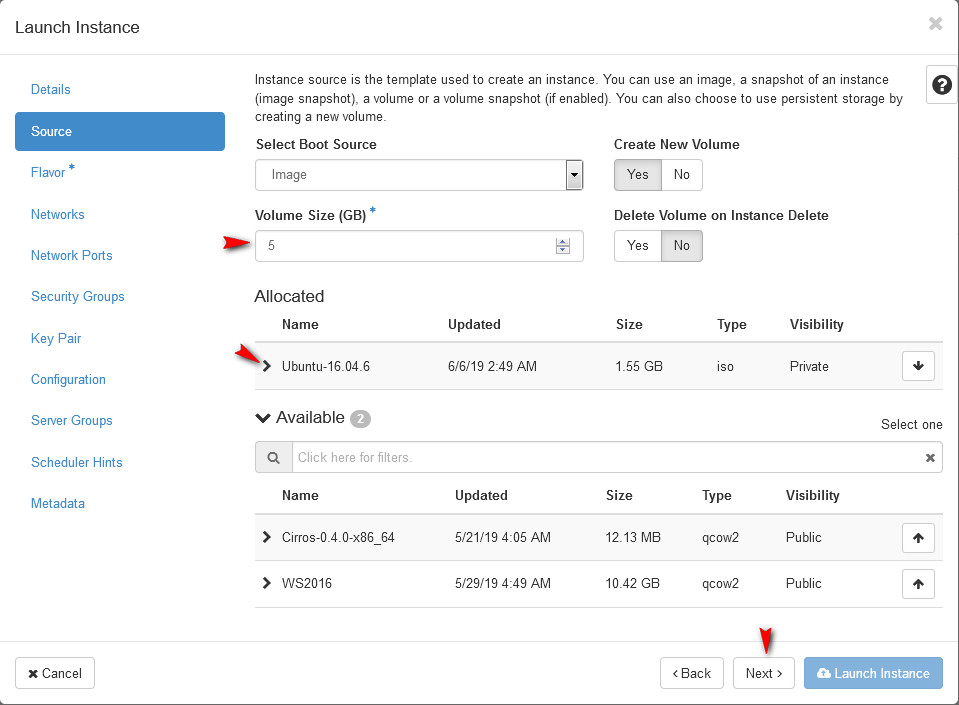
3. In the source, I use the Ubuntu for source image.
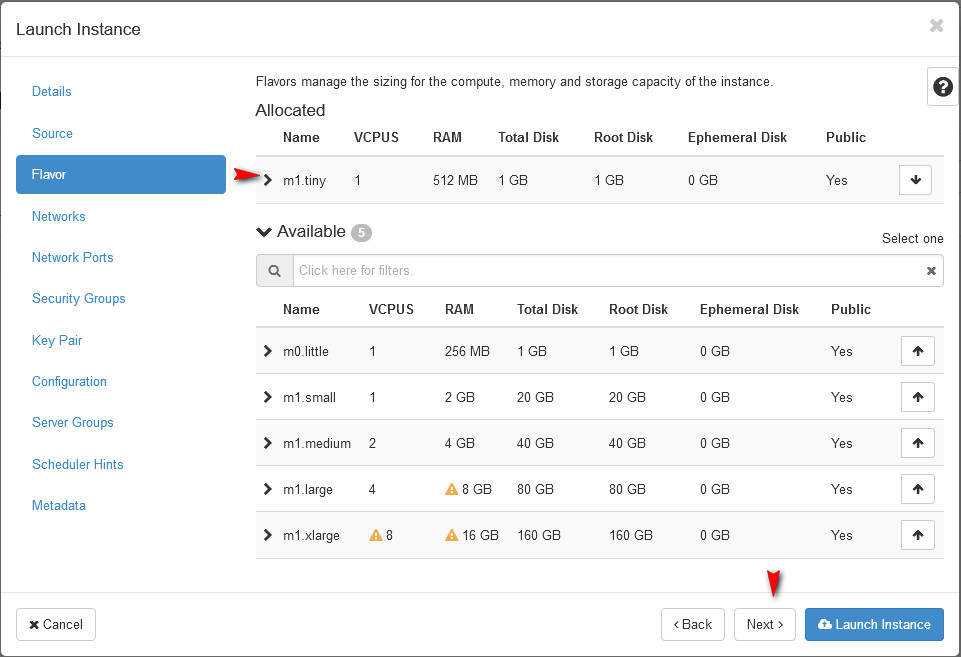
4. For Flavor, I select the m1.tiny.
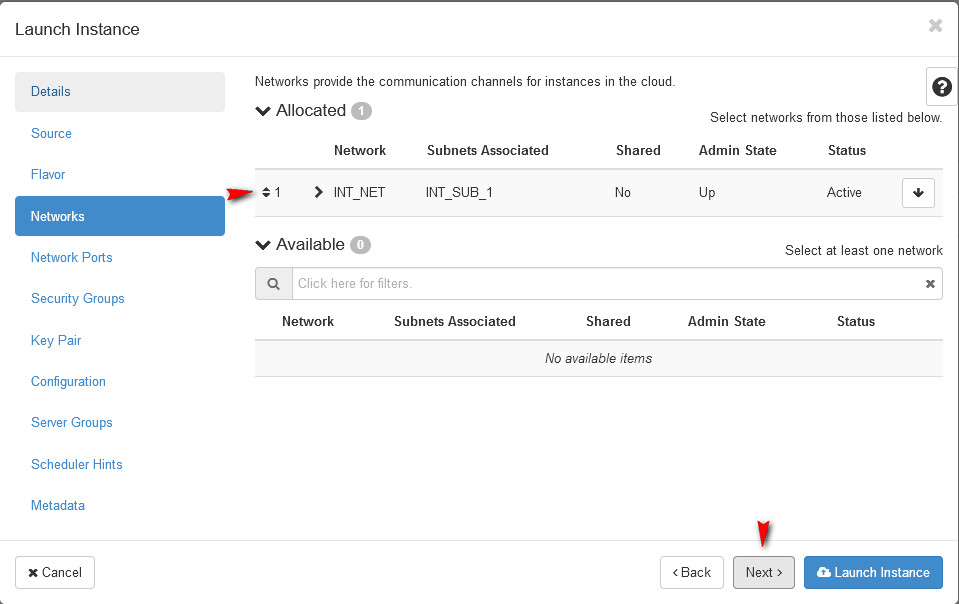
5. For Networks, WEB_01 need to connect to outside. So, I select INT_NET.
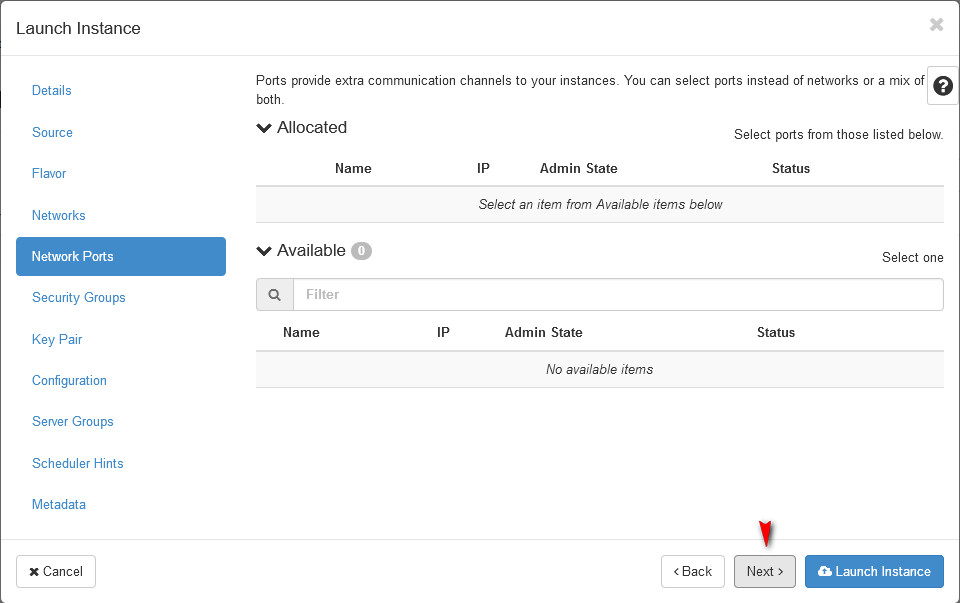
6. For Network Port, use default setting.
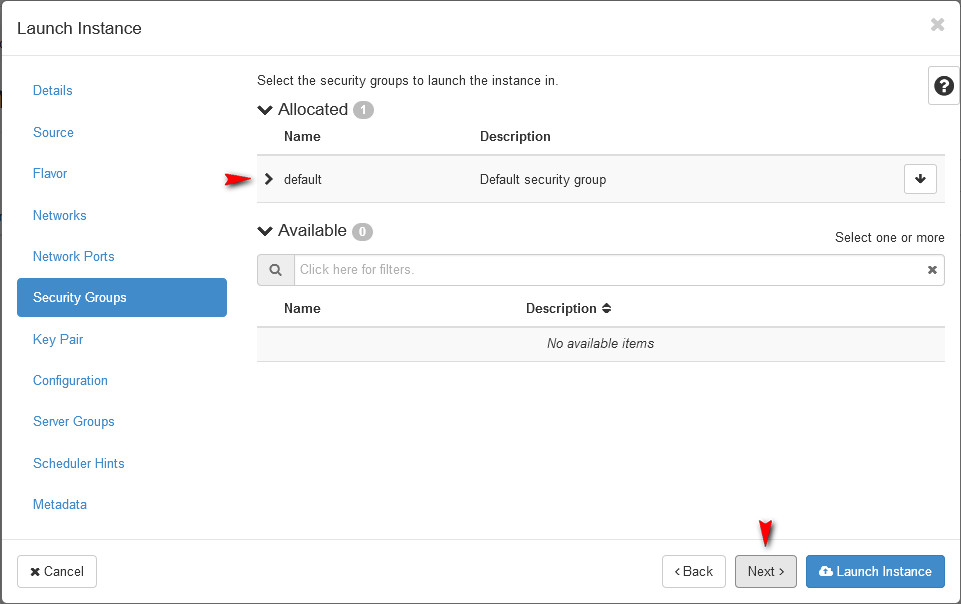
7. For Security Group, I will set up in the chapter 8.
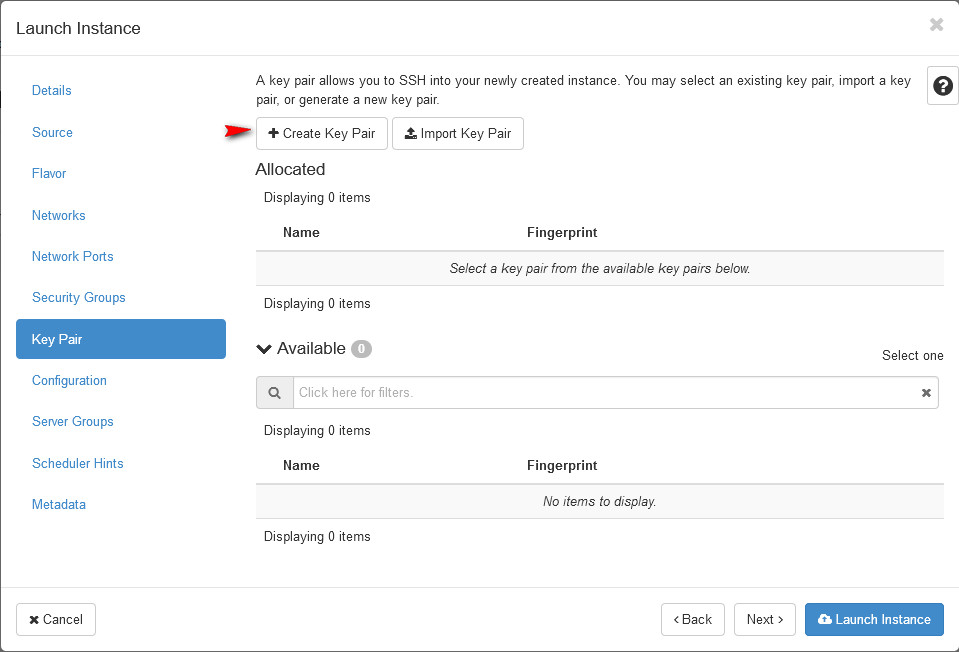
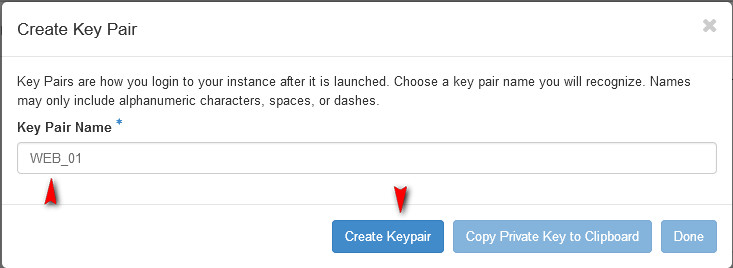
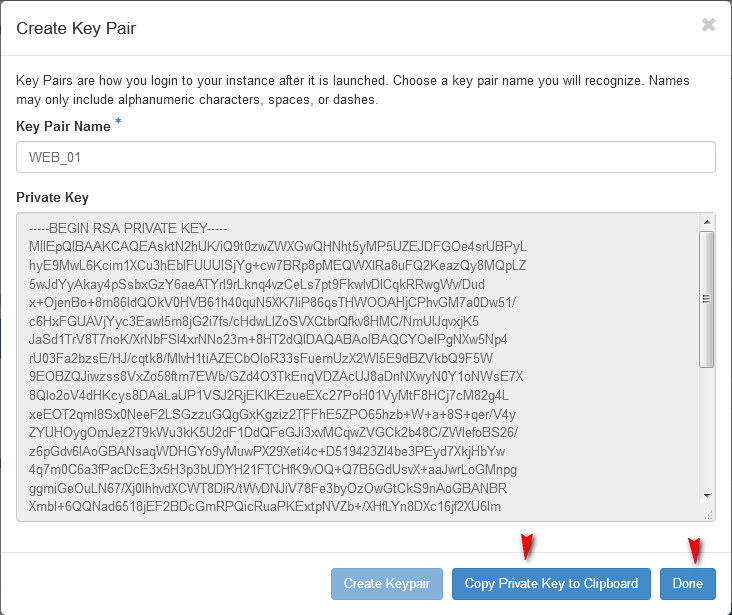
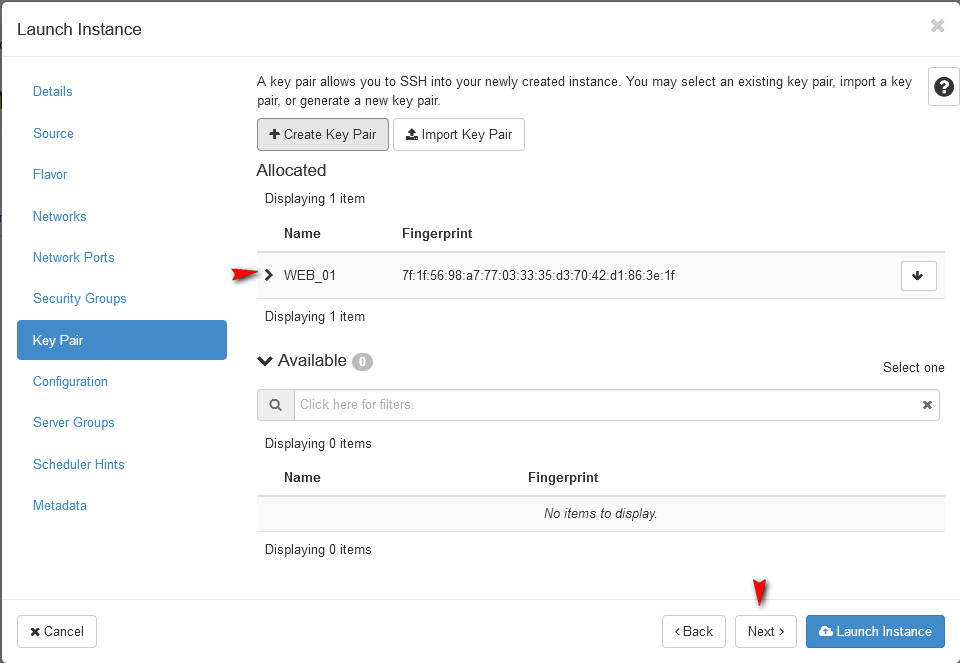
8. For Key Pair, I need to create a Key Pair which can be used to login into server via SSH. I create a private key called WEB_01 and MUST be copy content and save as a file (WEB_01.pem)
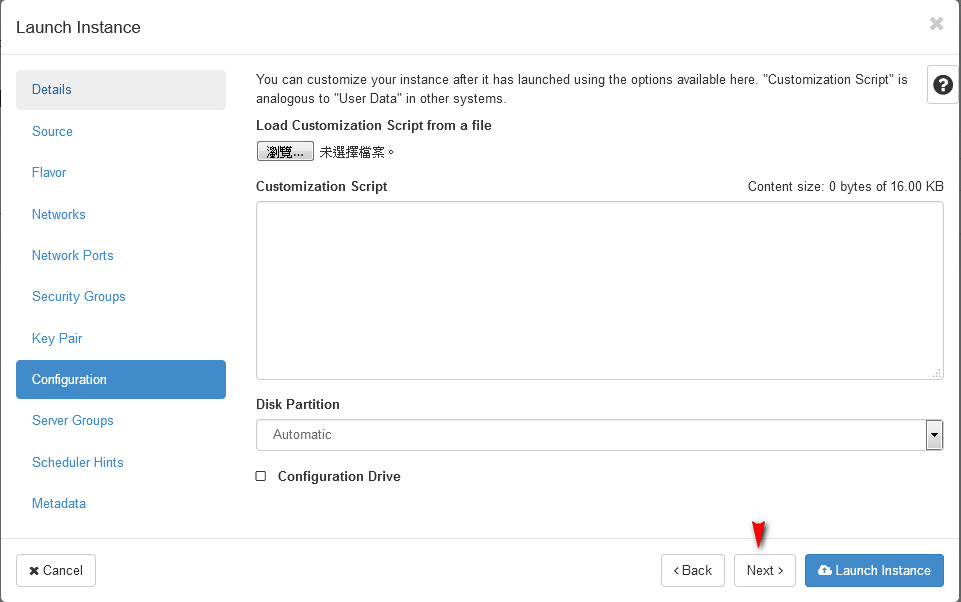
9. For Configuration, use default setting.
10. For Server Groups, use default setting.

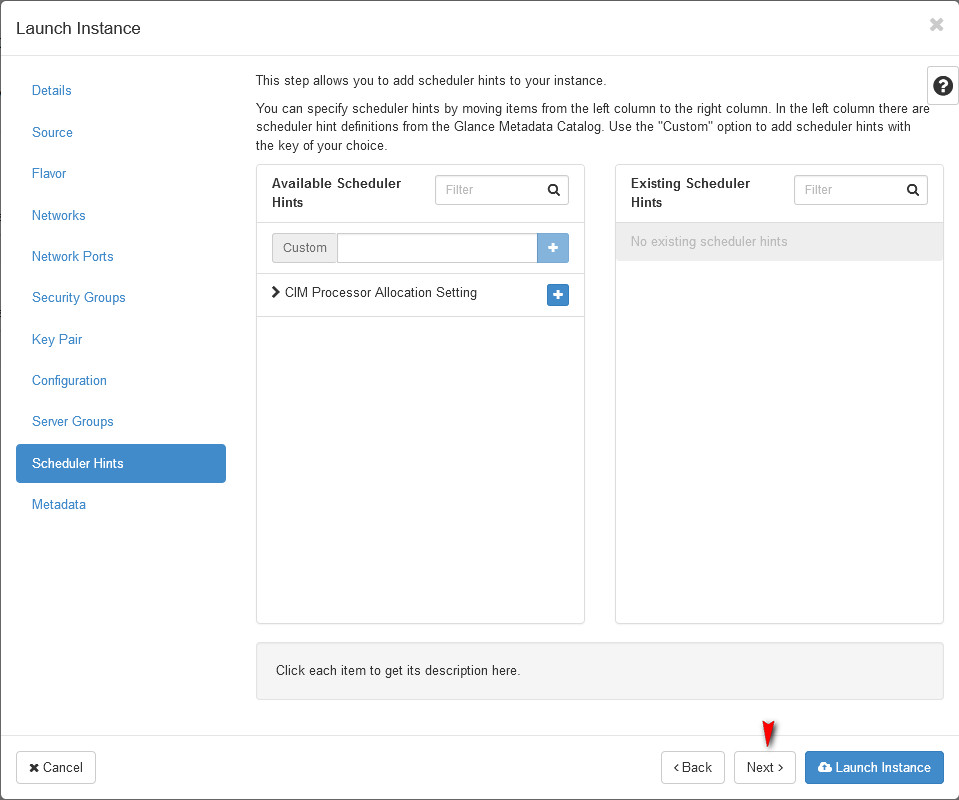
11. For Scheduler, use default setting.
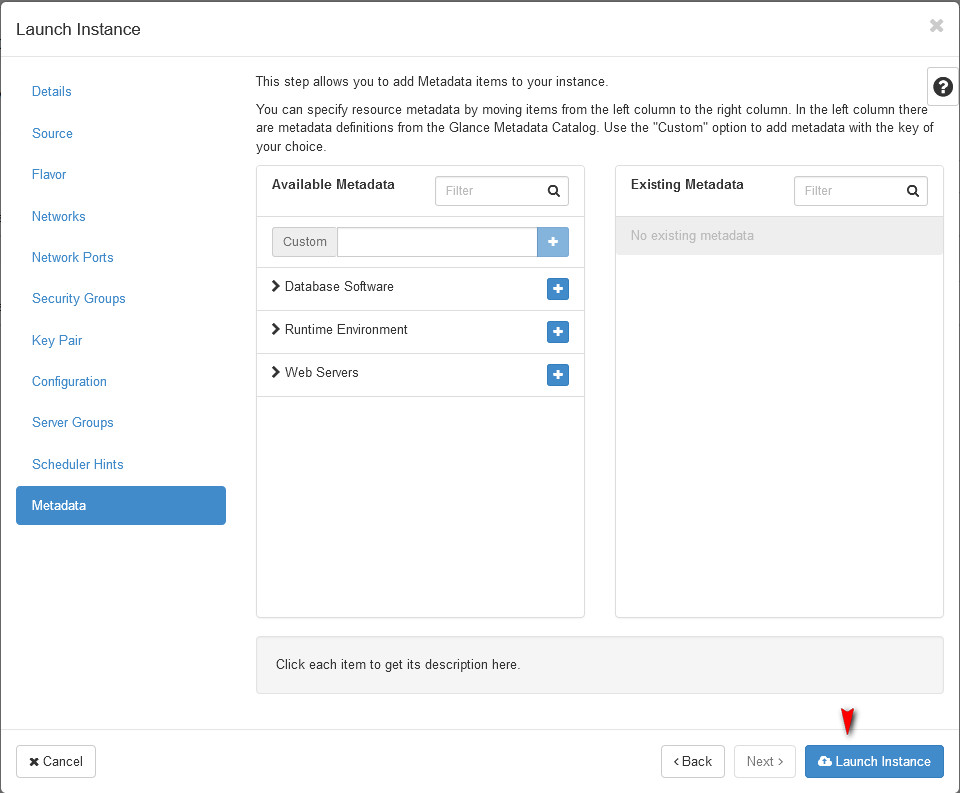
12. For Metadata, use default setting. And launch instance.
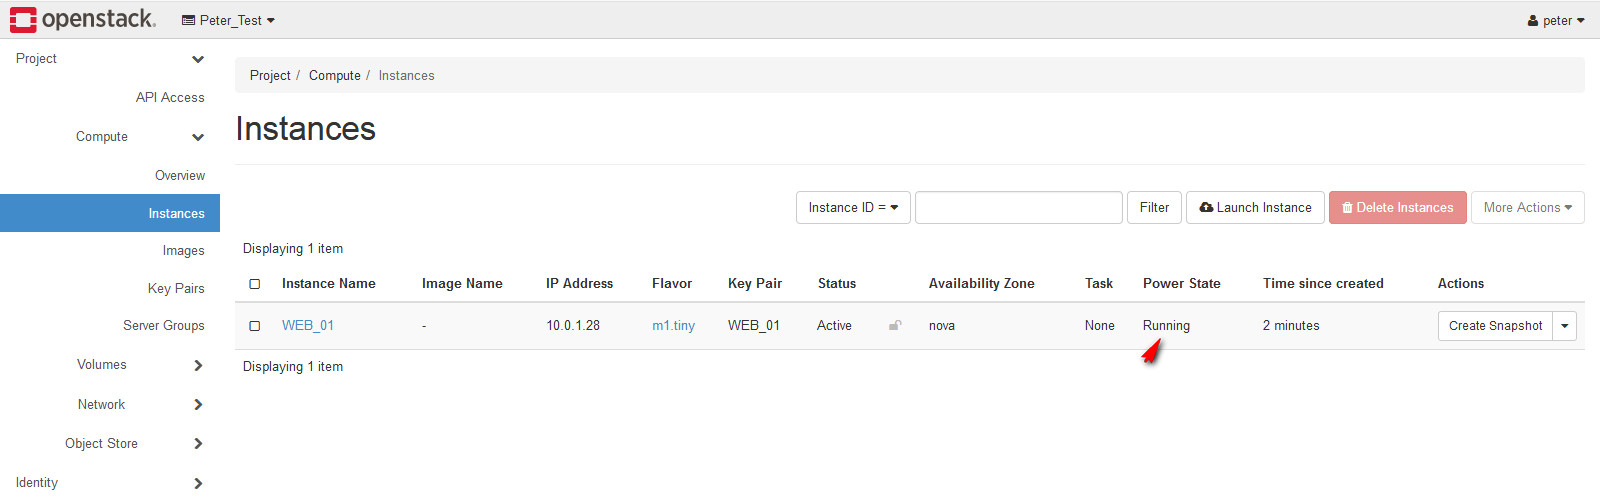
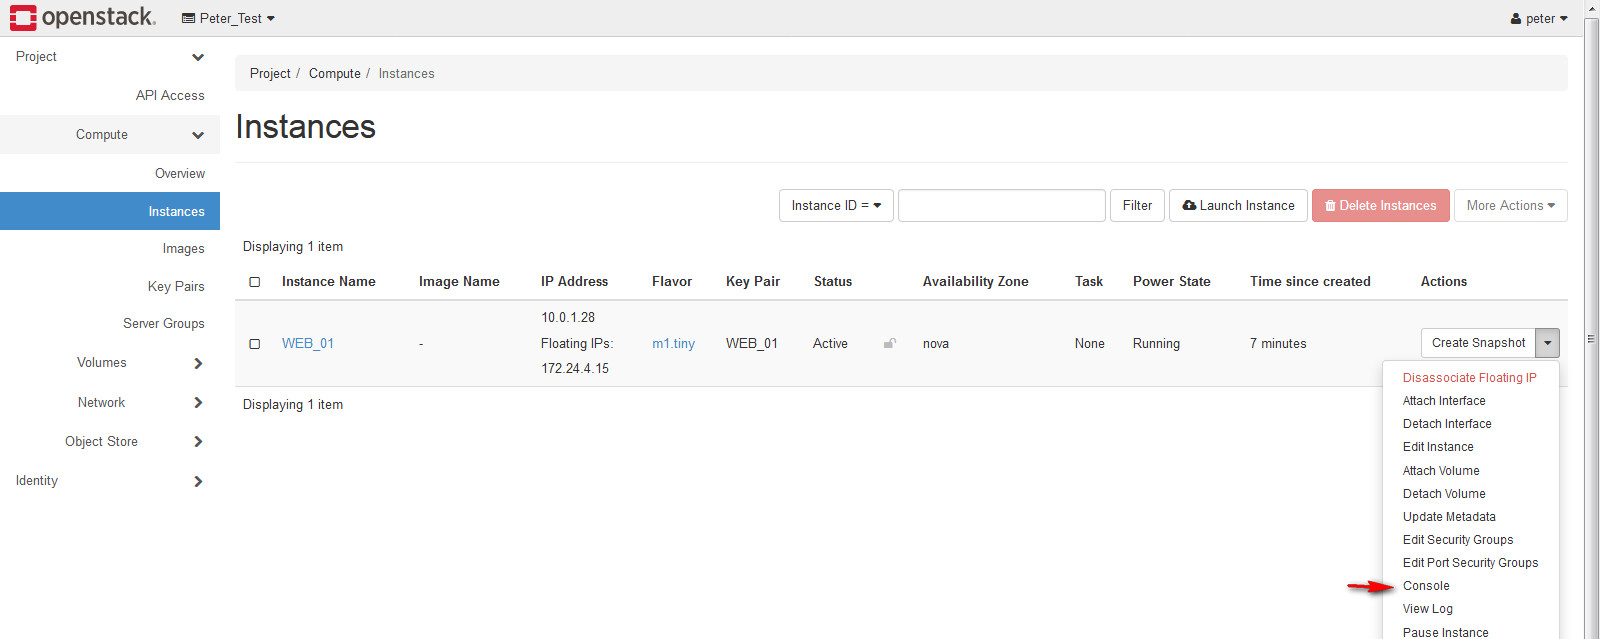
13. Waiting for 1-2 mins, the power state will show Running.
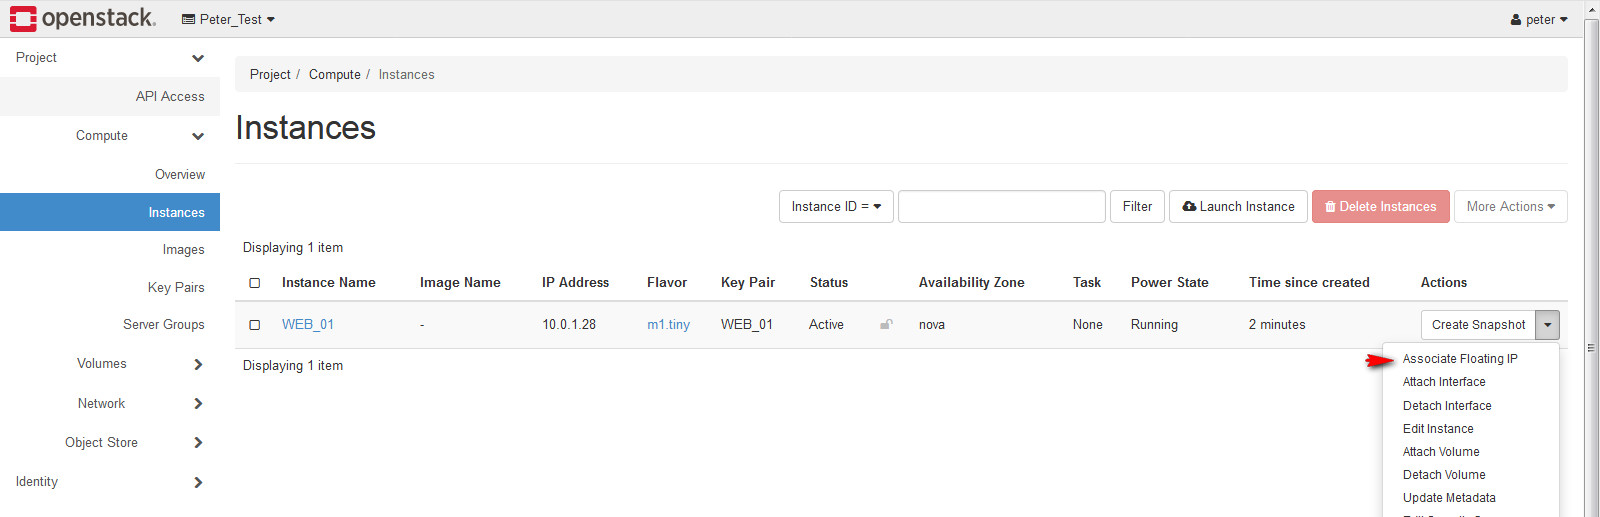
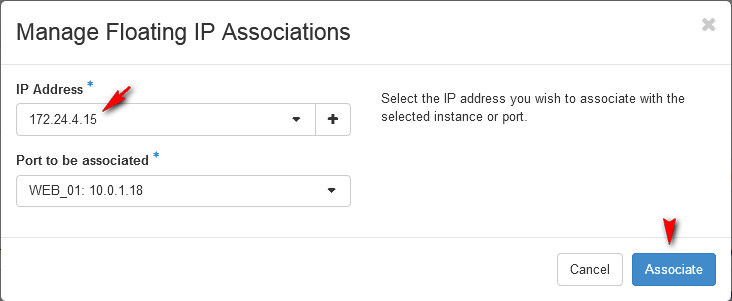
14. Internet user will need to visit Web server, so this server need to associate an outside IP.

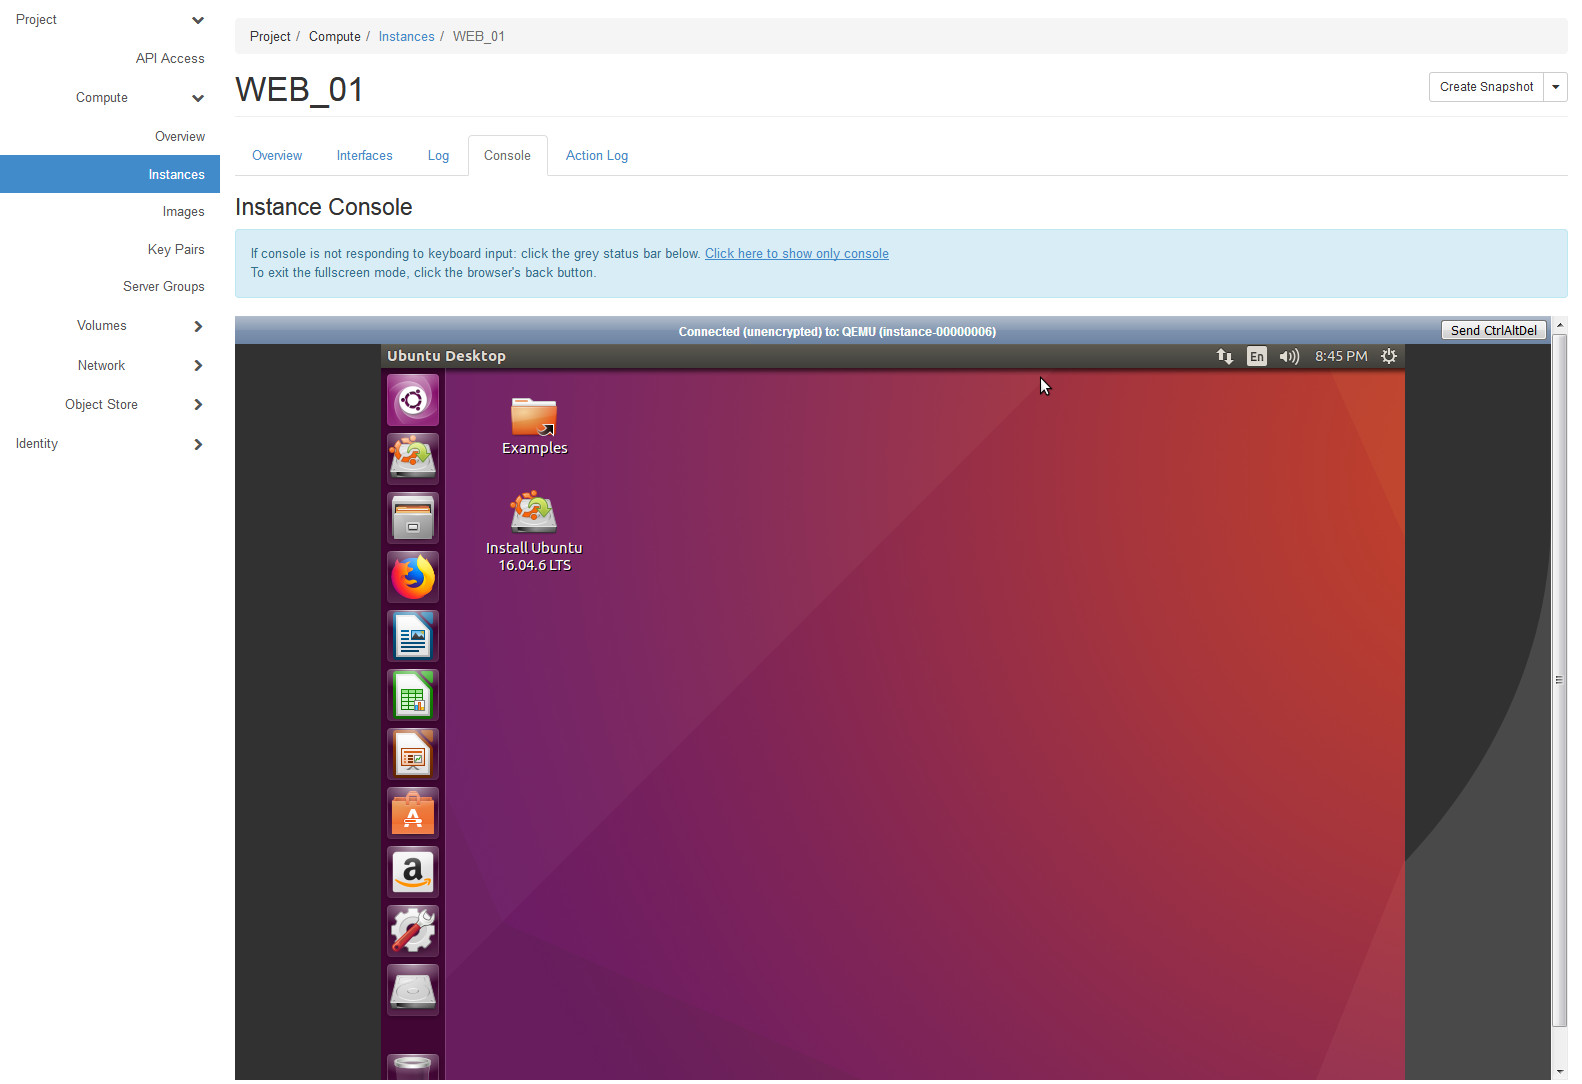
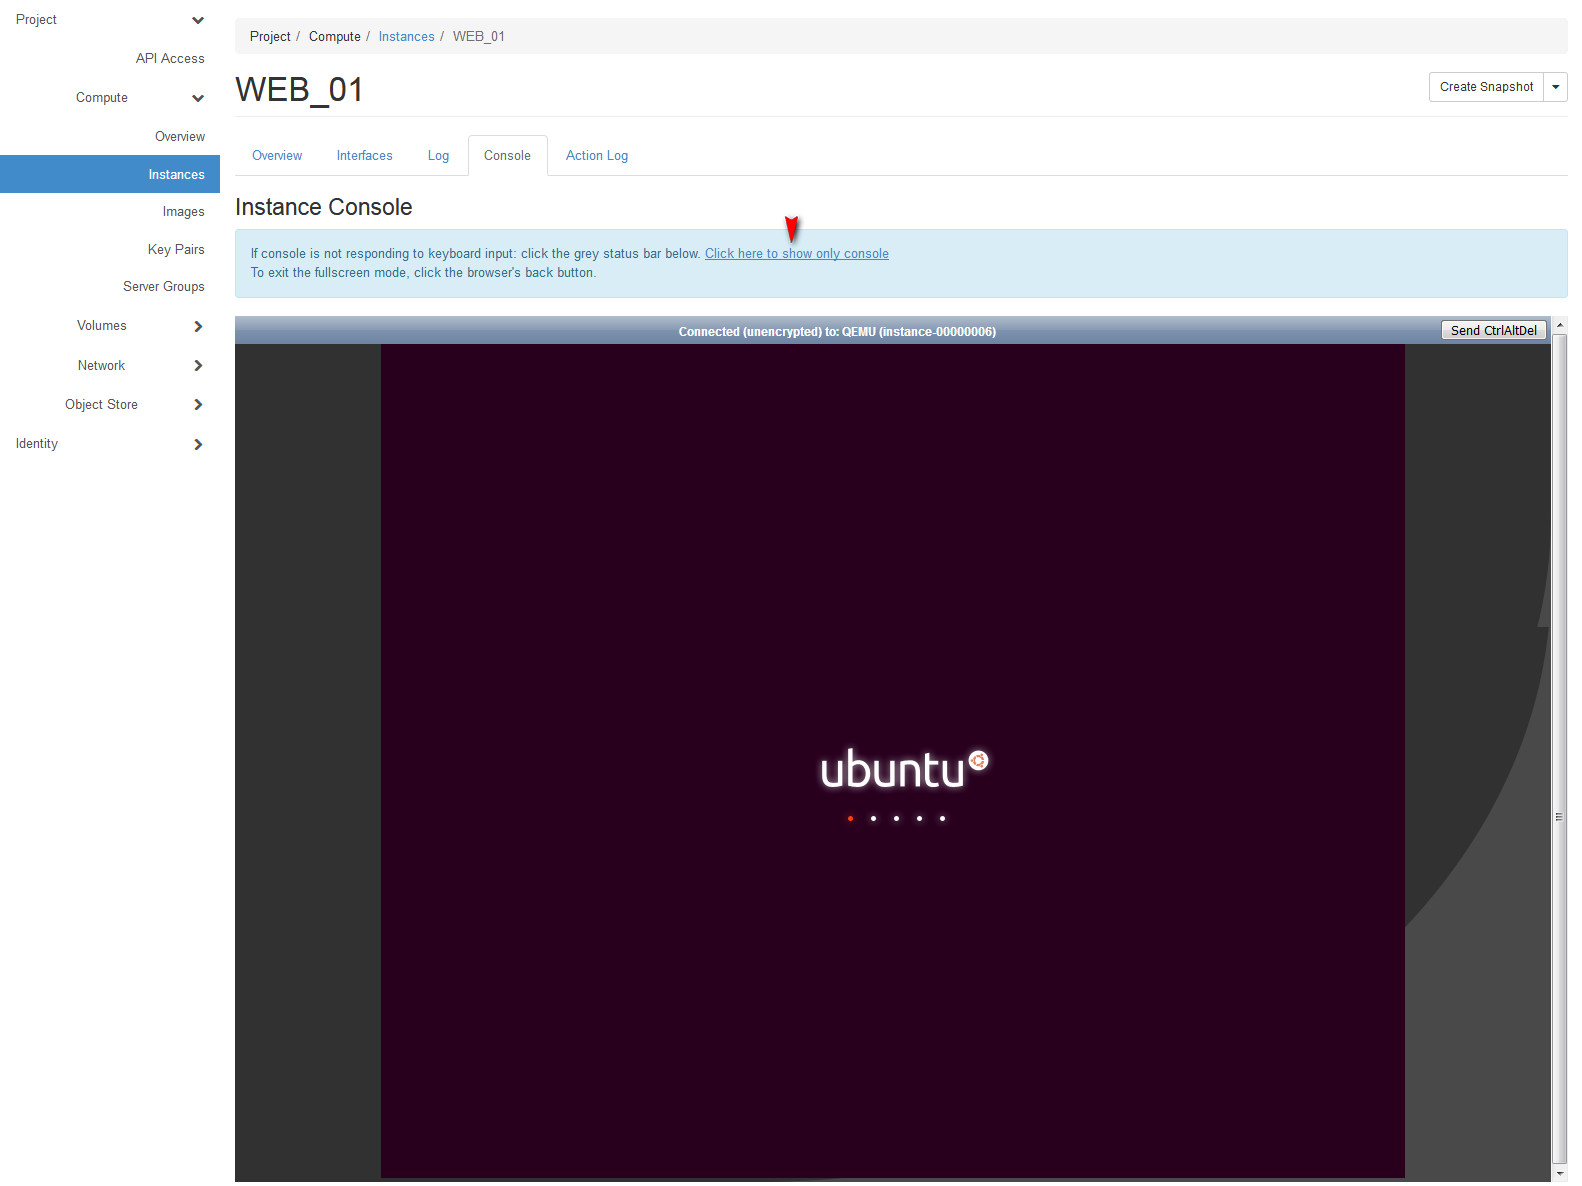
15. Select console, I will local login.
最初發表 / 最後更新: 2019.06.08 / 2019.06.08


0 comments:
Post a Comment