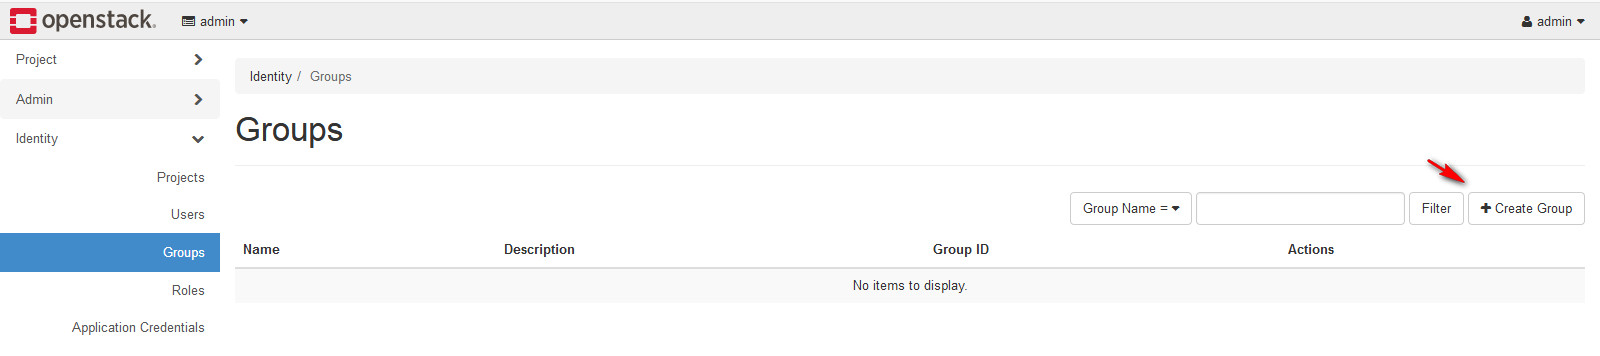
3.1 Login as Admin, go to Identity > Groups. Click Create Group.
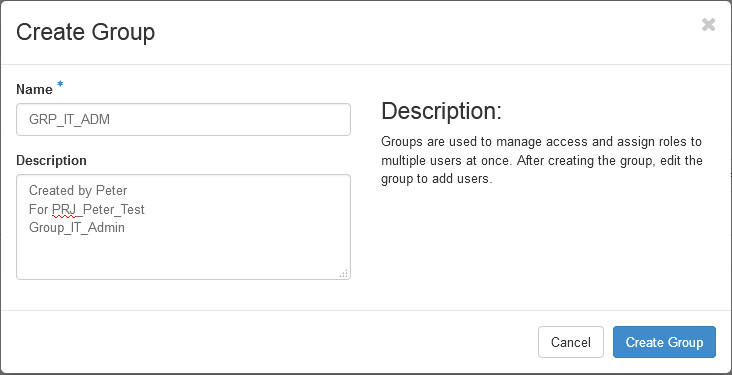
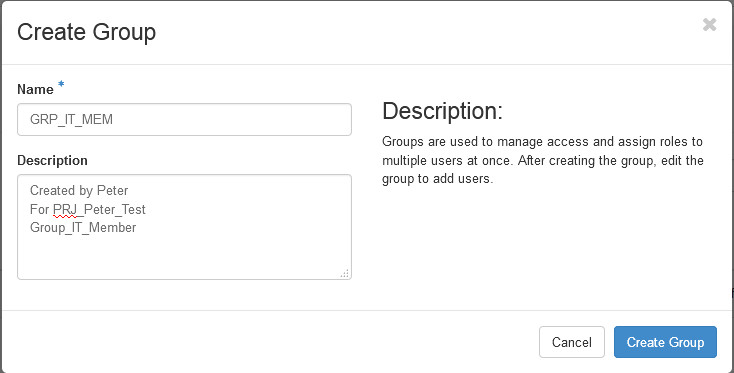
3.2 In Create Groups, Setup the Name and Description and then click Create Group. In this example, I create two groups. One for admin user (GRP_IT_ADM). Other one for member user (GRP_IT_MEM).
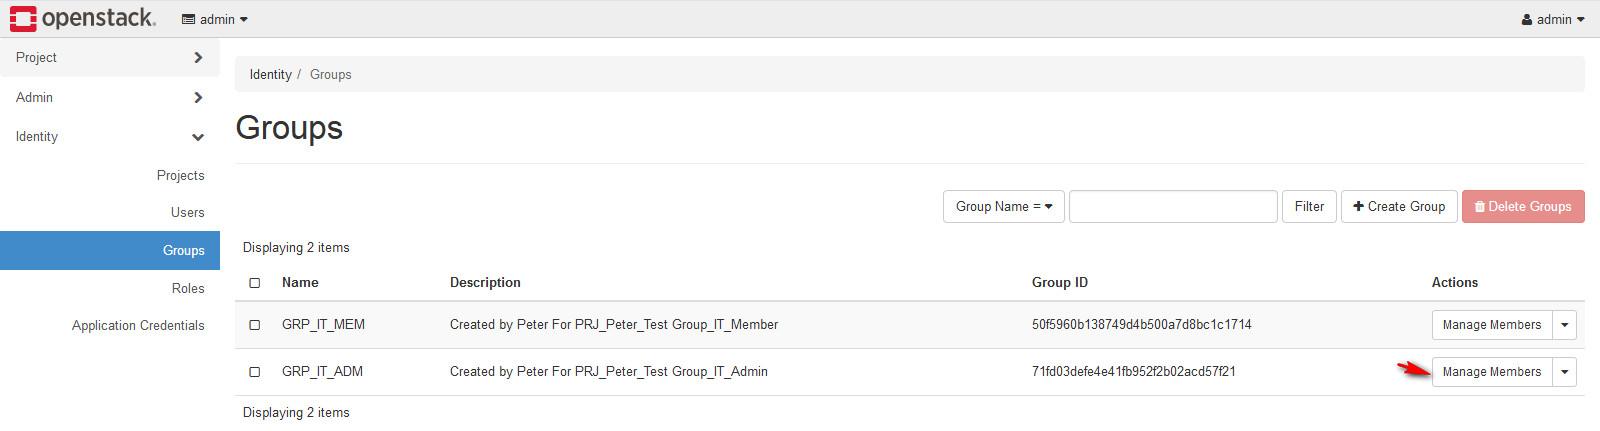
3.3 In the Identity/ Groups, Select the GRP_IT_ADM and Manage Members
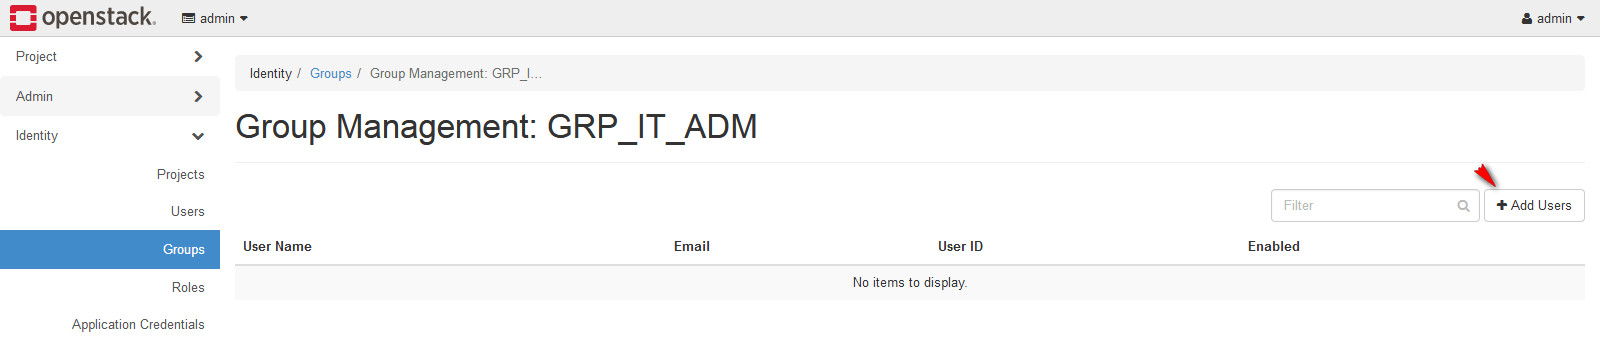
3.4 In the Identity/ Groups/GRP_IT_ADM, Select the Add Users
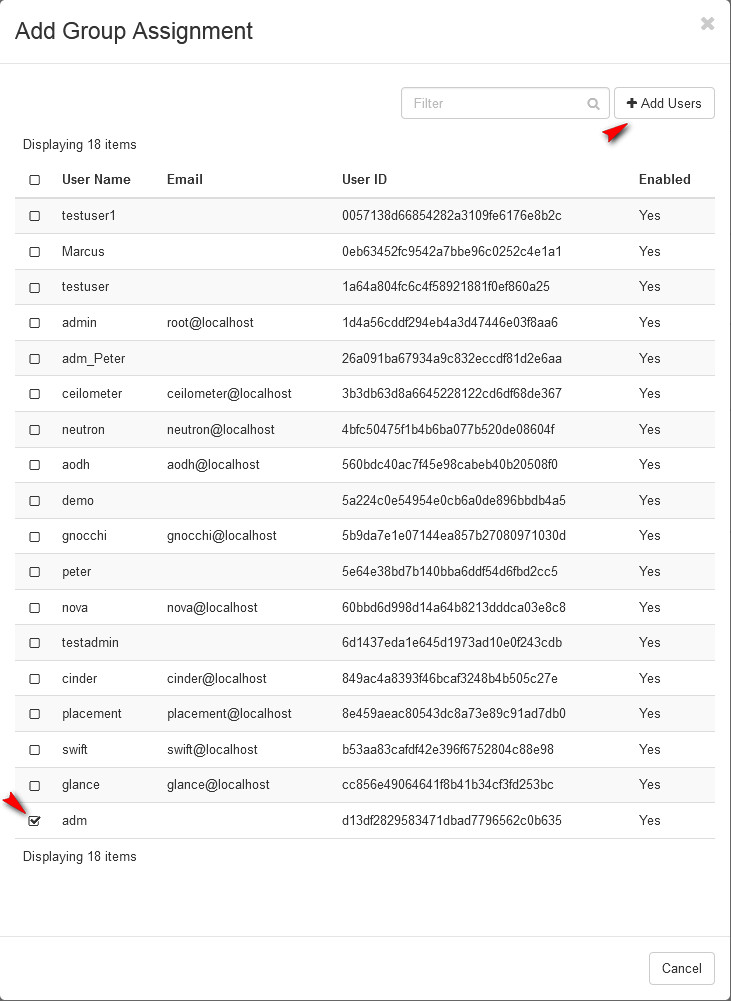
3.5 Select the adm (This account was created in Chapter 2, it is a tenant admin user)
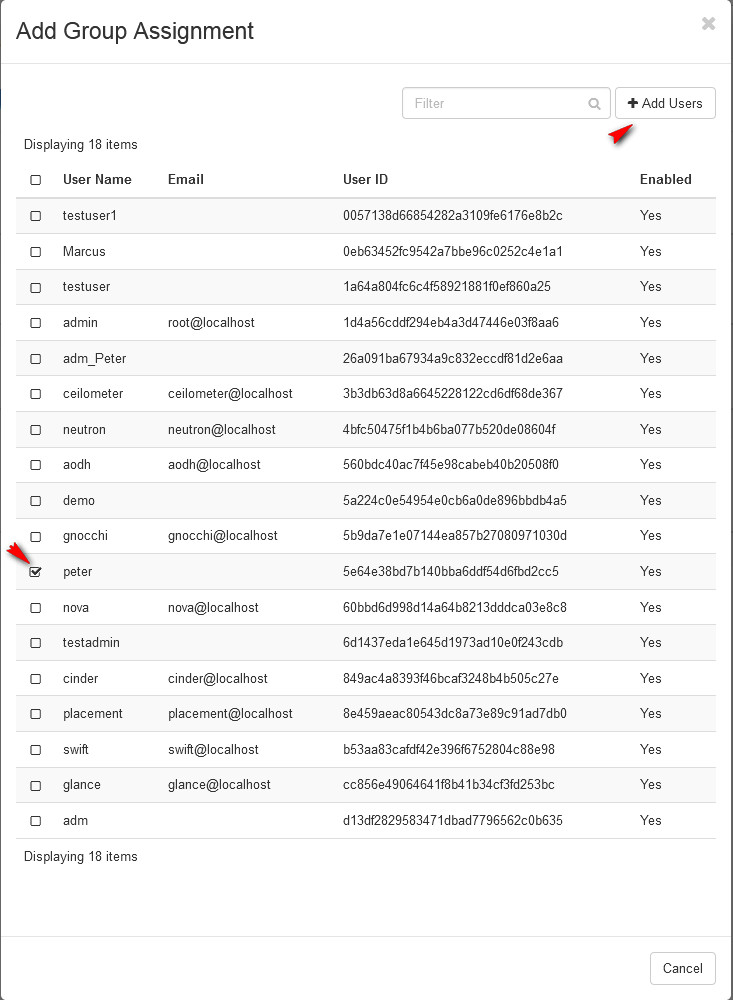
3.6 Repeat step 3.3 – 3.5(Select the GRP_IT_MEM > Manage Members > Add Users). Add tenant member user(Peter) into tenant member group(GRP_IT_MEM)
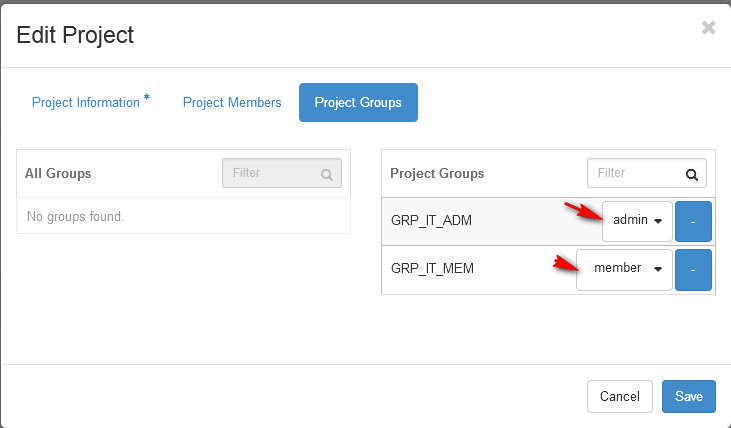
3.7 Go to Identity / Projects, in the project(Peter_Test) action, select Modify Groups
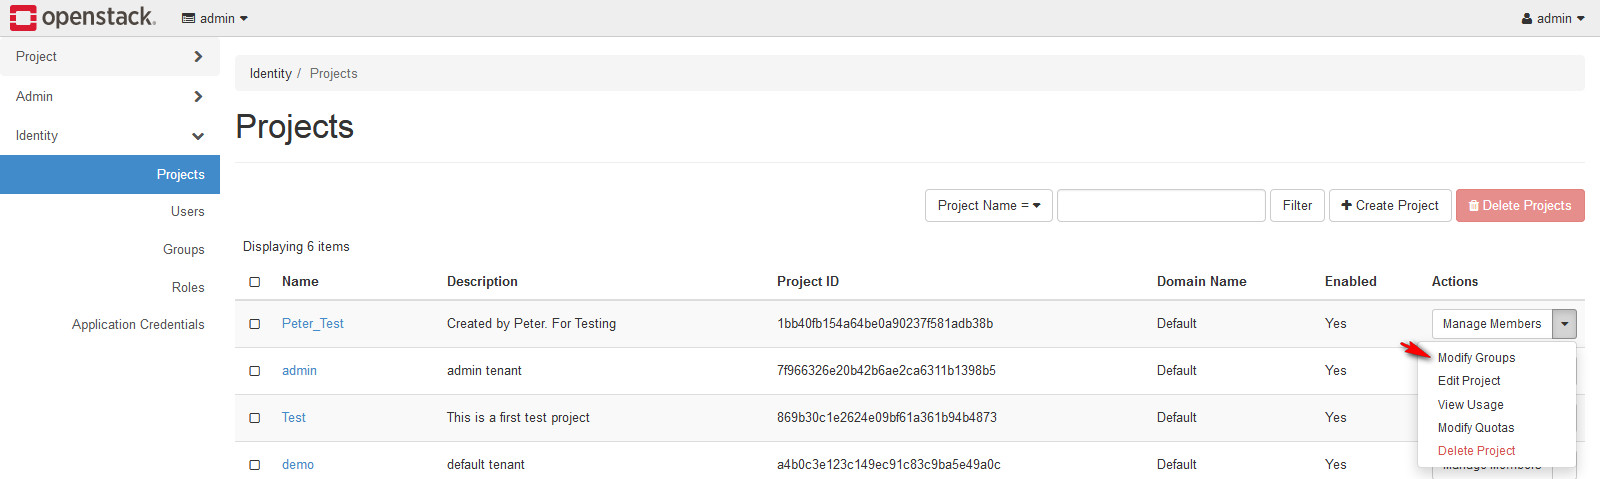
3.8 In Project Groups option, add two groups into the project(Peter_Test)
最初發表 / 最後更新: 2019.05.24 / 2019.05.24


0 comments:
Post a Comment