In this part, we will use tenant admin user (adm) to create network for project (Peter_Test) using.
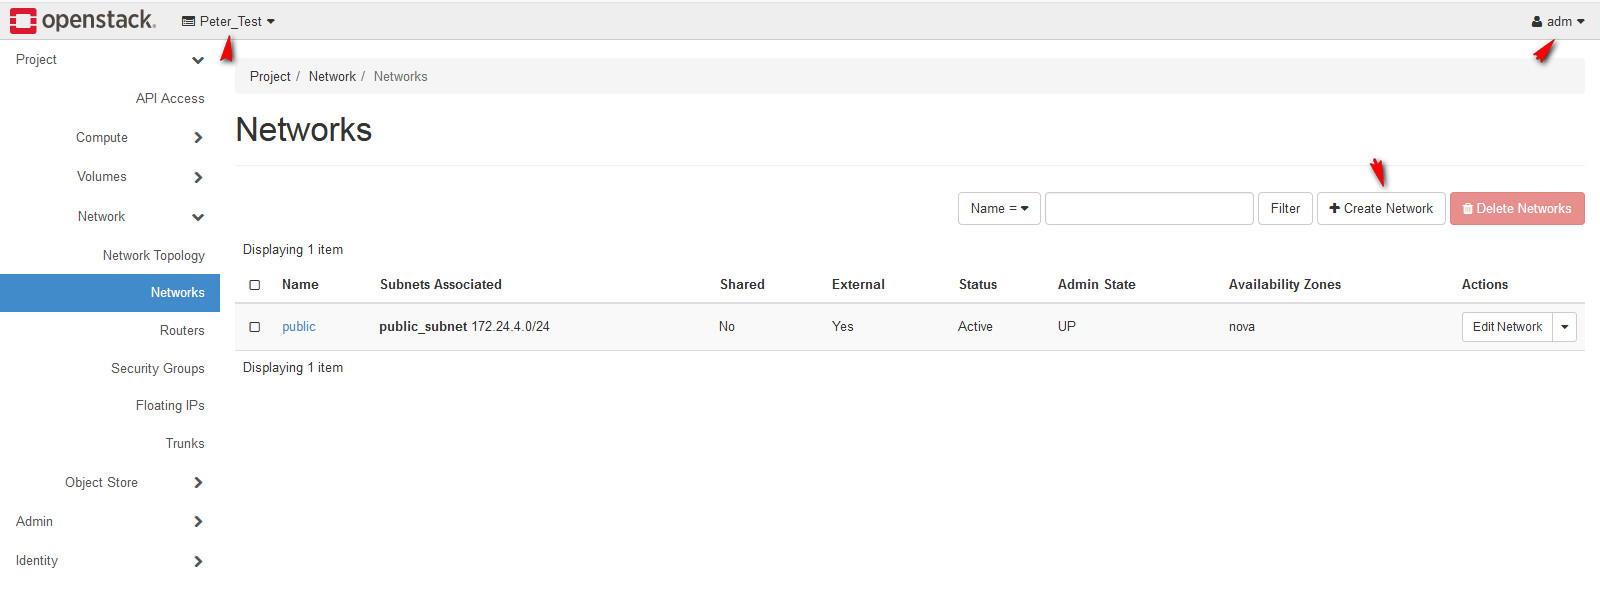
1. Login as tenant admin user, go to Project > Network > Networks. Click Create Network.
2. We will create an internal network called INT_NET.
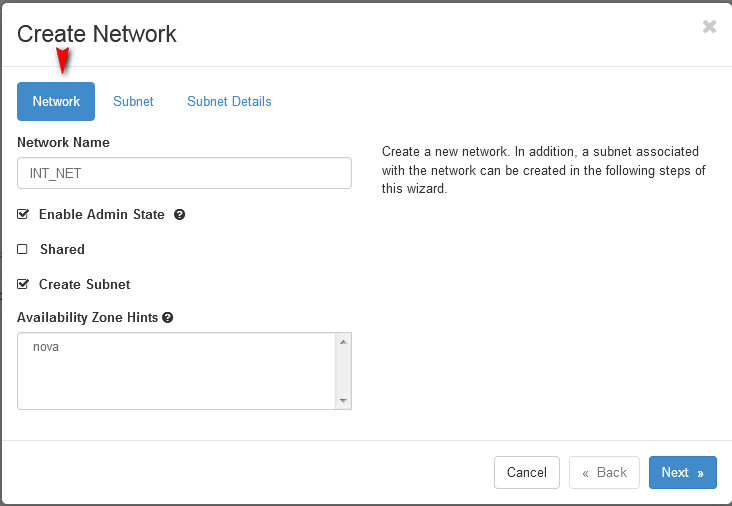
3. In this network, we can create a lot of networks for different purpose. I create an internal subnet 10.0.1.0/24 and this subnet gateway is the first IP address 10.0.1.1.

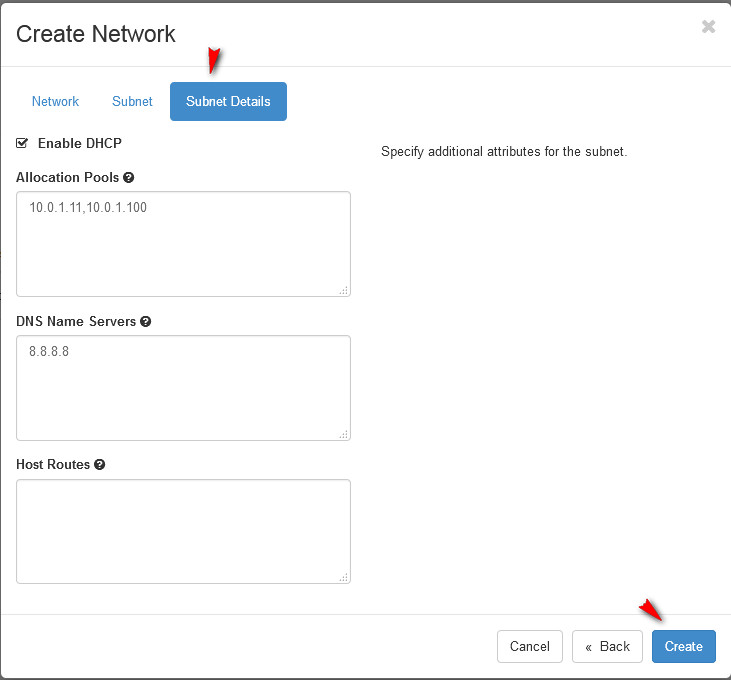
4. In this subnet, I enable DHCP function. And DHCP IP range is from 10.0.1.11 to 10.0.1.100. I am reserved the first 10 IP address, so 10.0.1.1 – 10.0.1.10 should be used in gateway or other services. I also enable DNS function, so DHCP clients do not need to setup DNS IP address.
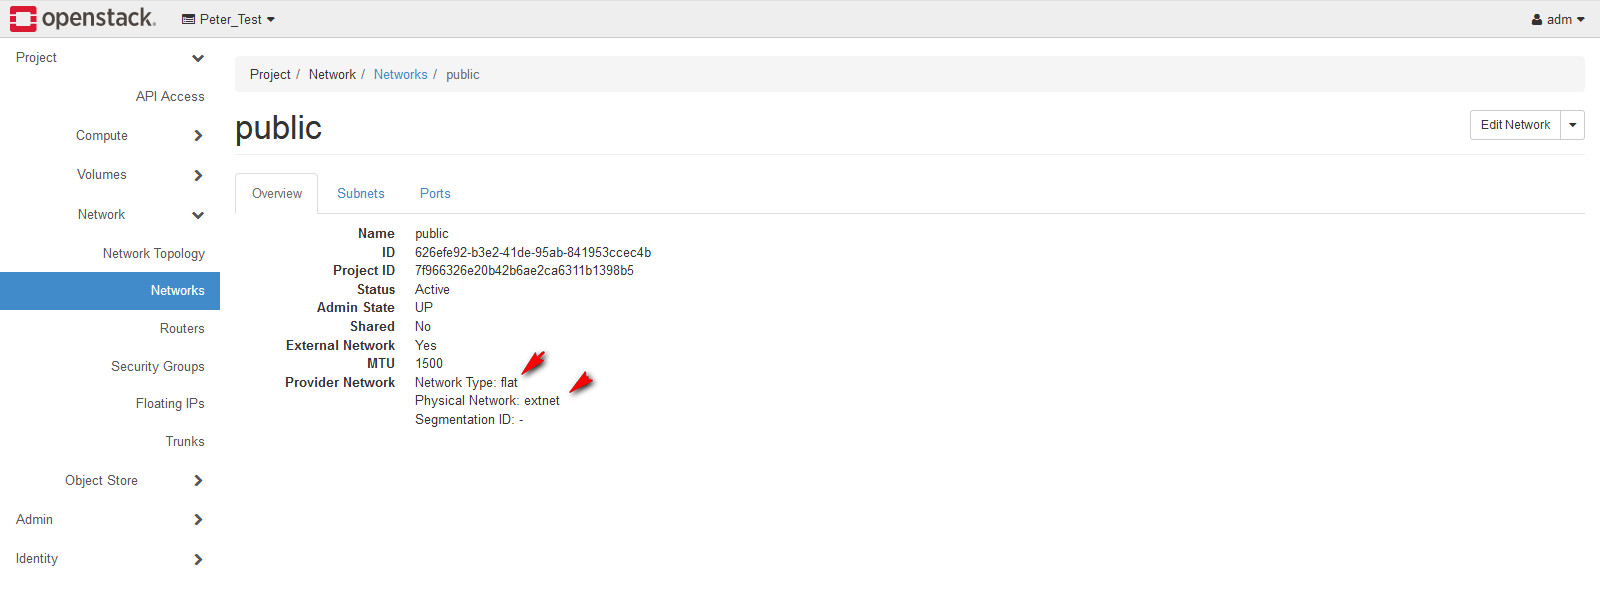
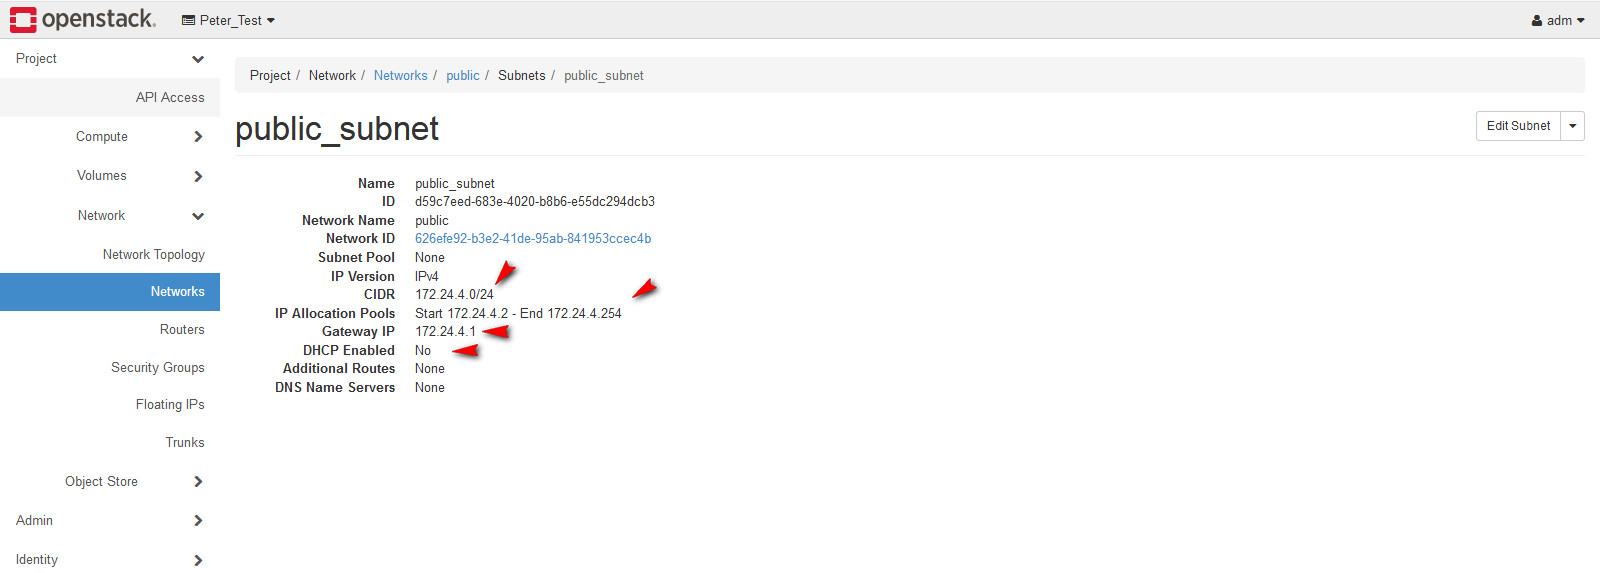
5. There was a network connect to public network called Public. Verify the subnet information.
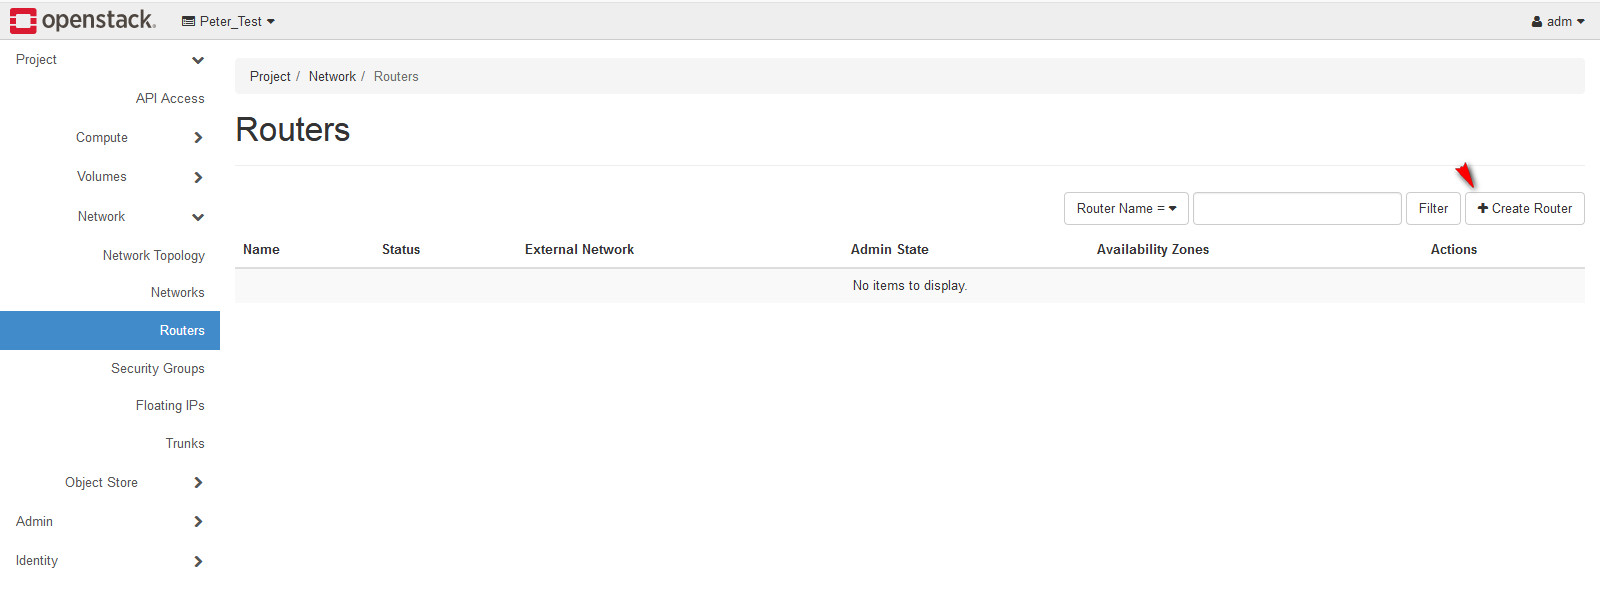
6. Now we need to create router, go to Project > Network > Routers. Click Create Router.
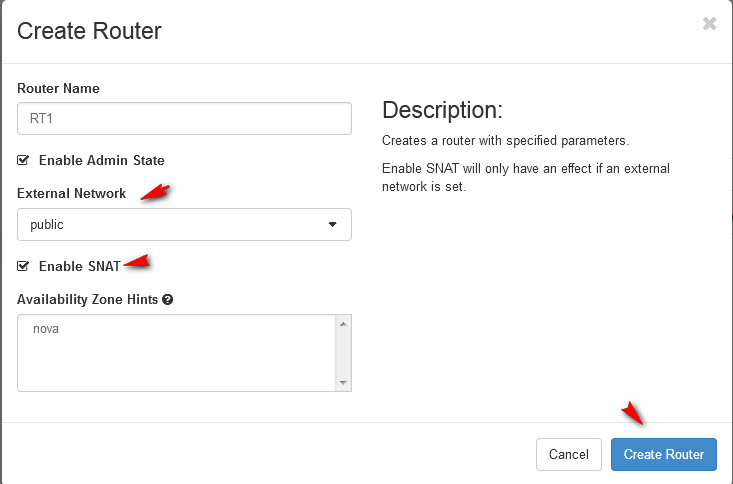
7. Setup the router, this router will connect between Public and INT_NET.
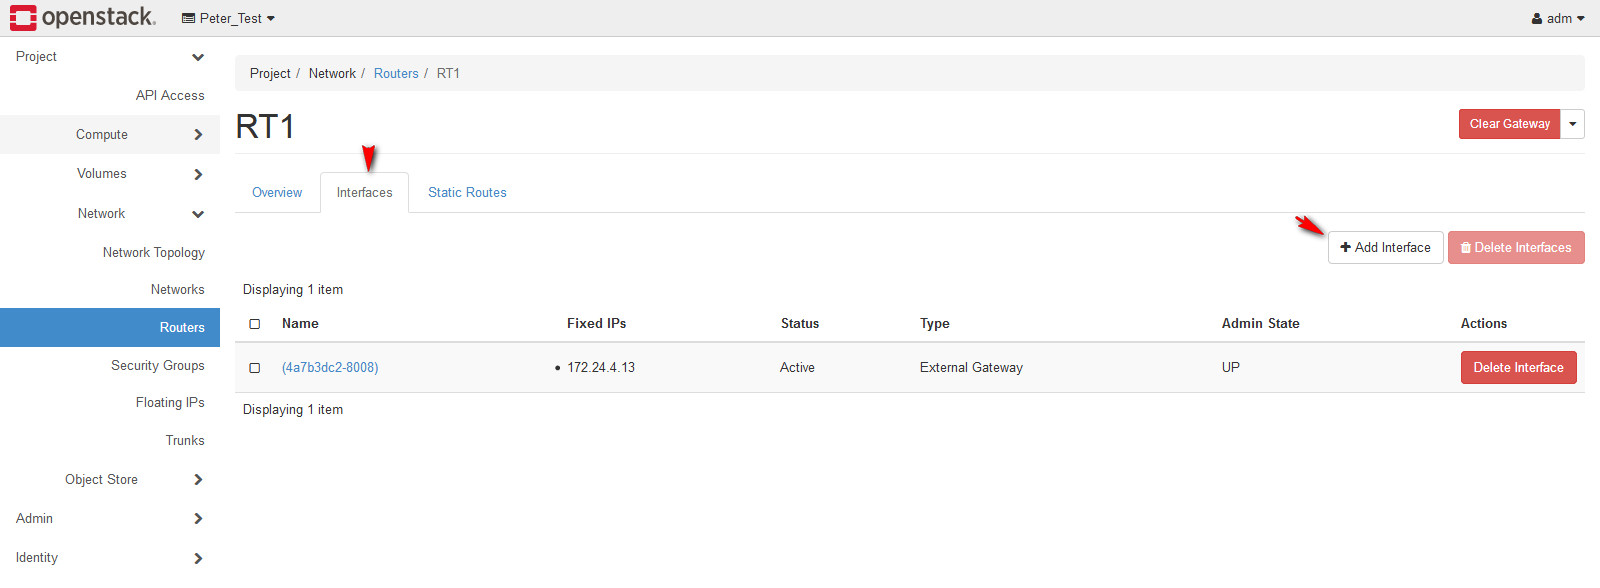
8. After crate router, we need to add router interface. Go to Project > Network > Routers > RT1. Click Add Interface.
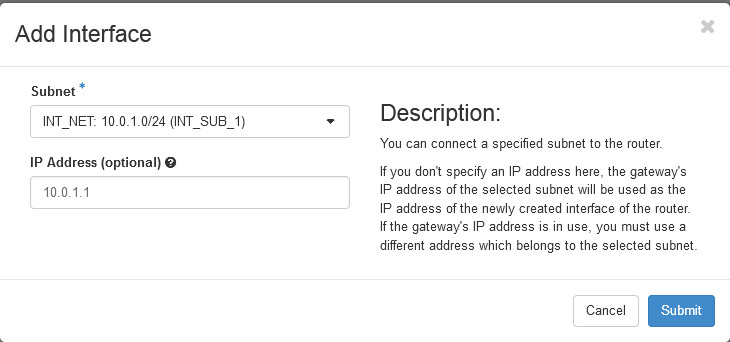
9. Selecting the subnet which will be connect to interface and setup this interface IP address (subnet gateway IP: The first IP of the subnet)
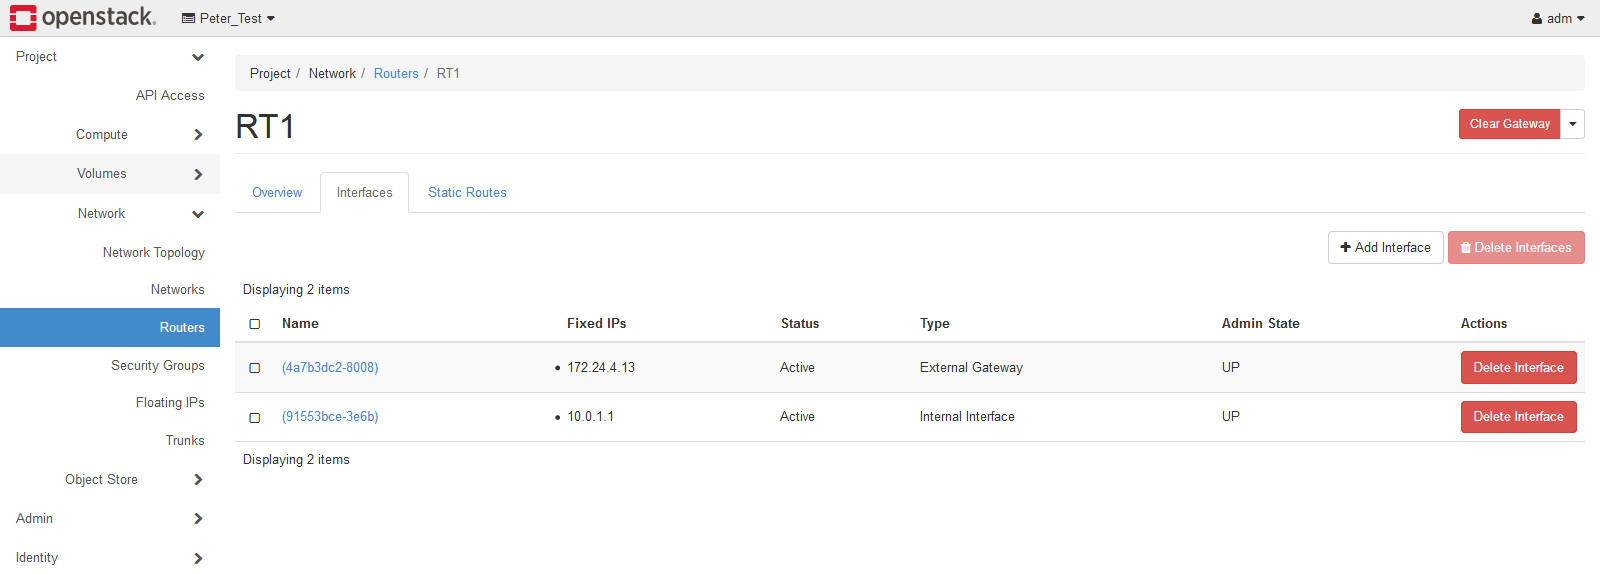
10. Verify the interface setting.
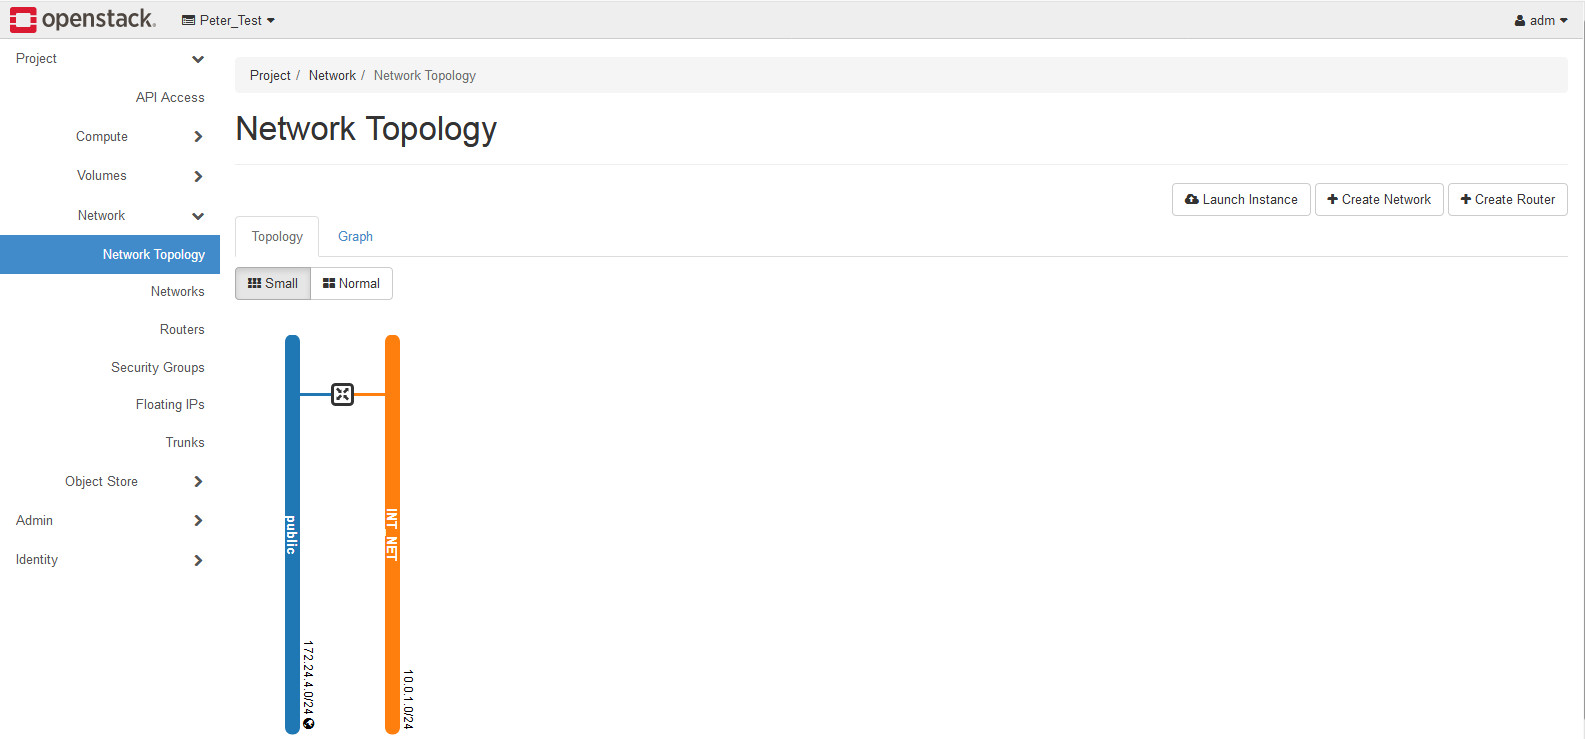
11. Go the Project > Network > Network Topology to verify this project network topology.
最初發表 / 最後更新: 2019.05.27 / 2019.05.27


0 comments:
Post a Comment